 Last Christmas I graduated from college. One of my graduation gifts was a 2nd generation iPod Touch! At the time, the iPod Touch was one of the coolest things I had ever got. I immediately started to play with it, and was impressed with it’s ability to know the orientation of the device. It’s multi-touch support was also impressive. Probably the coolest part of owning an iPod Touch was that “there’s an app for that” attitude. The sheer volume of available apps was mind blowing.
After graduation I started grad school, so I didn’t have much time to play on the technical side of iPod Touch and iPhone development. However, I now have the time, and what follows is my journey on the road to iPod Touch and iPhone development enlightenment.
Getting Started

Before I even got started with iPhone development, I already ran into a problem: I don’t own a Mac, nor do I want to own one. It’s not that I don’t like them. They’re beautiful machines with top of the line hardware and software, it’s just they’re a little outside my
price range. So, how does one go about developing for the iPod Touch and iPhone on a Windows machine? Well, there are a few different options. Some revolve around Cygwin, while others around VMWare. There is a good thread going on over at Stack Overflow (here) about it. Depending on your situation, you may want to just pony up the cash for a Mac Mini, but to each their own. In my case, I went with one of the methods listed above.
About the Book
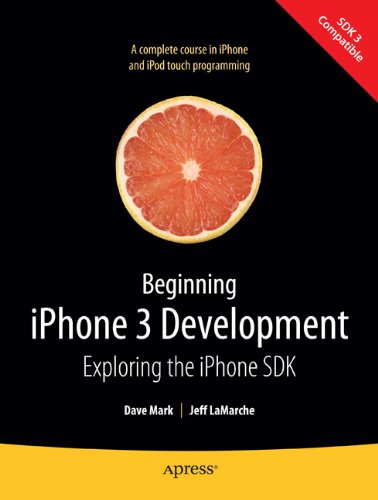
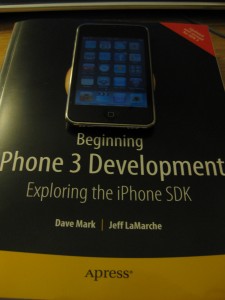
The book I’ll be using for this adventure is “Beginning iPhone 3 Development: Exploring the iPhone SDK” by Dave Mark and Jeff LaMarche. It was reasonably priced, well reviewed, and had a grapefruit on the cover. How could I possibly go wrong with this? While I’ve only read the back cover at this point, the only problem I have with it is that it fails to mention the need for a Mac. Some people might say “Duh! Of course you need a Mac for iPhone and iPod Touch development!”, but it’s not always obvious to everyone.
Requirements
As with most development projects, there are a few things you need before you get started. In the case of iPhone & iPod Touch development, you need the iPhone SDK (also, from this point forward I’m going to start referring to “iPhone & iPod Touch development” as “iPhone development”). To get at the iPhone SDK, you need to visit http://developer.apple.com/iphone/ and sign up to be an iPhone developer. It’s free (or has free options), so that’s a relief.
The sign up process seemed fairly painless. While I’m not a huge fan of having to register and give out personal information, they control the SDK, so I suppose I must do as they say. Nothing too suprising once you’re through the registration though, except the download is 2.5 GB!!! The worst part is that I have no idea why. I always thought Netbeans with the JDK/JRE was huge, but this thing blows it out of the water.
Hello World
It’s a programming tradition to learn any new programming language with a simple “Hello World” program. Even when not programming, some programmers still use “Hello World” to break the ice. Hardly one to break with tradition, I’m going to be starting with a “Hello World” too, except this time for an entire platform, instead of just a programming language.
After much fumbling around, here are the steps to getting a “Hello World” program started.
- Open XCode and select New Project… from the File menu.
- Select View-based Application.
- Name your project Hello World.
- In the Groups and Files window, open the Resources group.
- Double Click the file Hello_WorldViewController.xib
- With the view now open, browse down the library until you find Label.
- Drag the label to the view.
- Double Click the label, and type “Hello world!”.
- Now go to File, then Save.
- Go back to Xcode and select Build, then Build and Run.
Honestly, I expected it to be a bit harder than this. Next time I’m hoping to make it though chapter 3, where I get to learn how to handle basic user interaction! As always, any feedback is welcome.